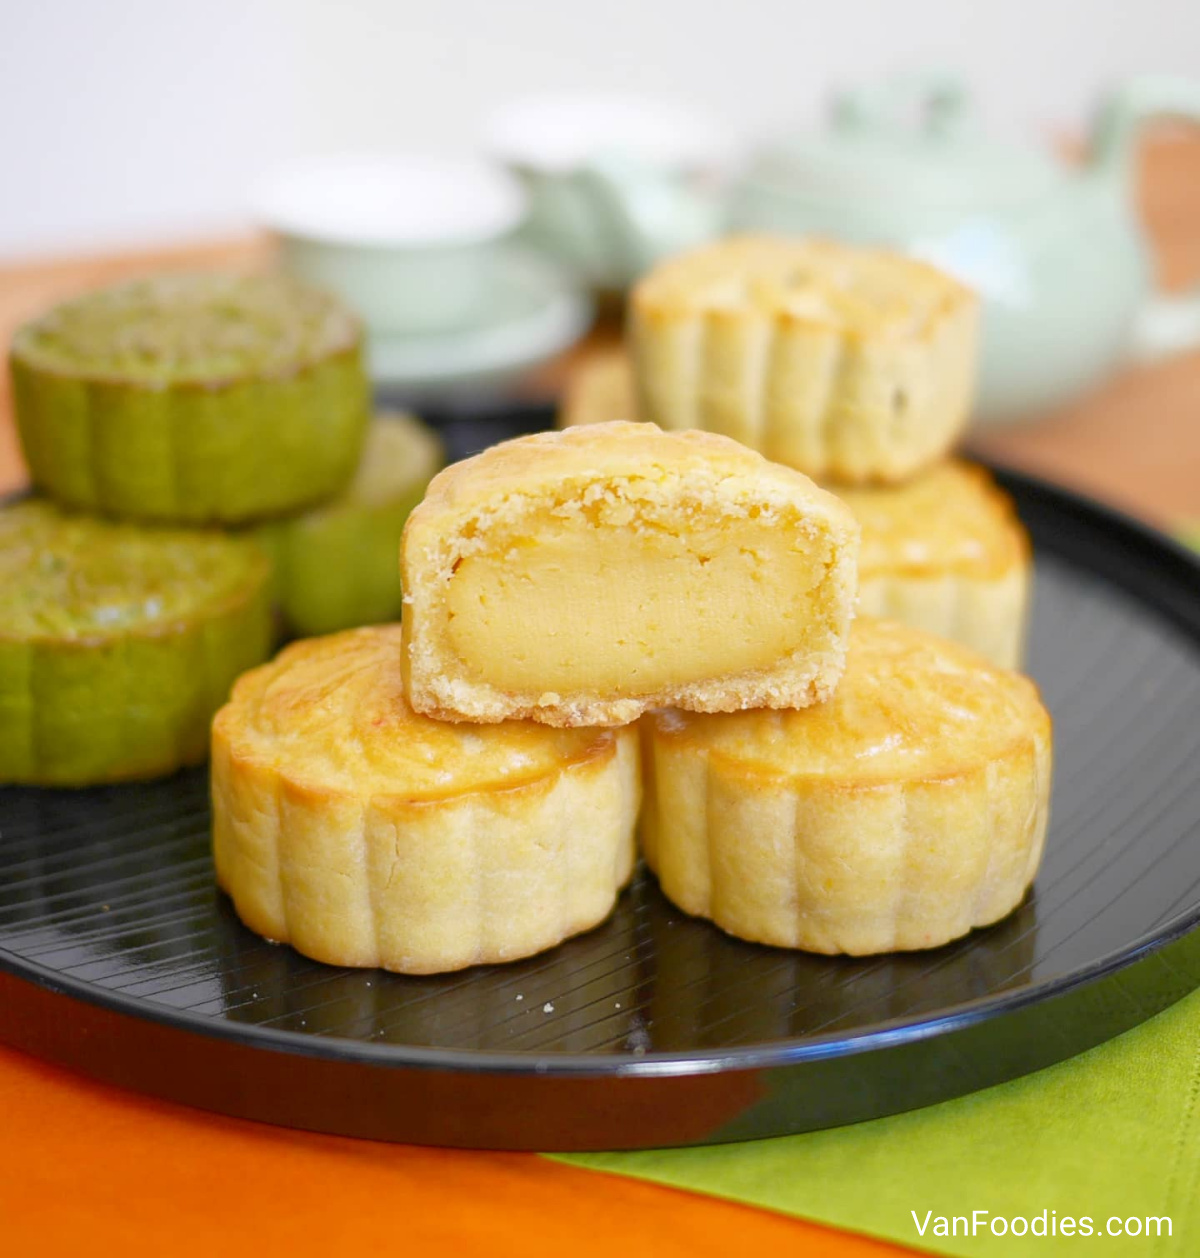
Mid Autumn Festival is happening on October 1 this year and mooncakes are a must at home. In the past we usually bought mooncakes from local bakeries (Maxim’s has been our favourite), but for the last few years Mama Lam has attempted to make some at home as well. I recently posted on Instagram some pictures of her creations this year, and some of my followers have asked for a recipe. The one recipe she has perfected is a baked mooncake with custard filling. I’m happy to share this one with you.

*This post may contain affiliate links. Please refer to our affiliate disclosure for more info.
Origin of Mooncake
Do you know where mooncake comes from? The version I’m most familiar with is that mooncake was created by revolutionaries in the Yuan Dynasty. They would hide secret messages inside these pastries and distributed them to plan a revolt to overthrow the Mongolian rulers, which eventually led to the fall of Yuan and the rise of Ming Dynasty. Can you picture this tasty treat being used as a political move?!
Ingredients – Filling
Custard A
- 40g Cake Flour
- 40g Custard Powder
- 40g Sugar
Custard B
- 40g Coconut Milk
- 130g Egg
- 3 pieces Salted Egg Yolk, steamed and crushed
Custard C
- 133g Coconut Milk
- 133g Evaporated Milk
- 40g Butter
Instructions – Filling
- Mix Custard A together.
- Mix Custard B together.
- Mix Custard A and B together. Add ingredients of Custard C to a pot and bring it to a simmer. Add Custard A and Custard B mixture. Stir until the mixture thickens to form a dough. Let it cool.
- Divide the filling into 24 equal portions. Put in the fridge to chill for one hour.
Ingredients – Crust
Crust A
- 354g Cake Flour
- 32g Custard Powder
Crust B
- 170g Butter
- 96g Powder Sugar
- 74g Egg
Instructions – Crust & Assembly
- Mix Crust A together.
- Mix Crust B together.
- Mix Crust A and B together into a dough. Rest for 30 minutes.
- Preheat the oven at 400°F
- Divide the crust into 24 equal portions.
- Roll each dough into a circle, stuff in the custard filling, seal and roll it back into a ball.
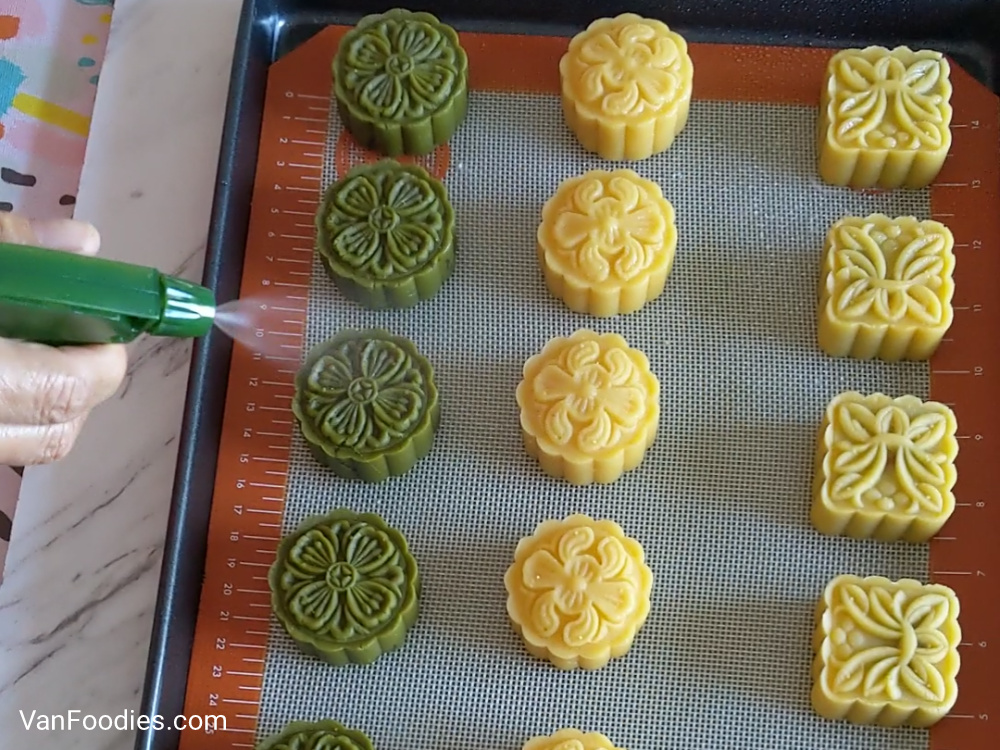
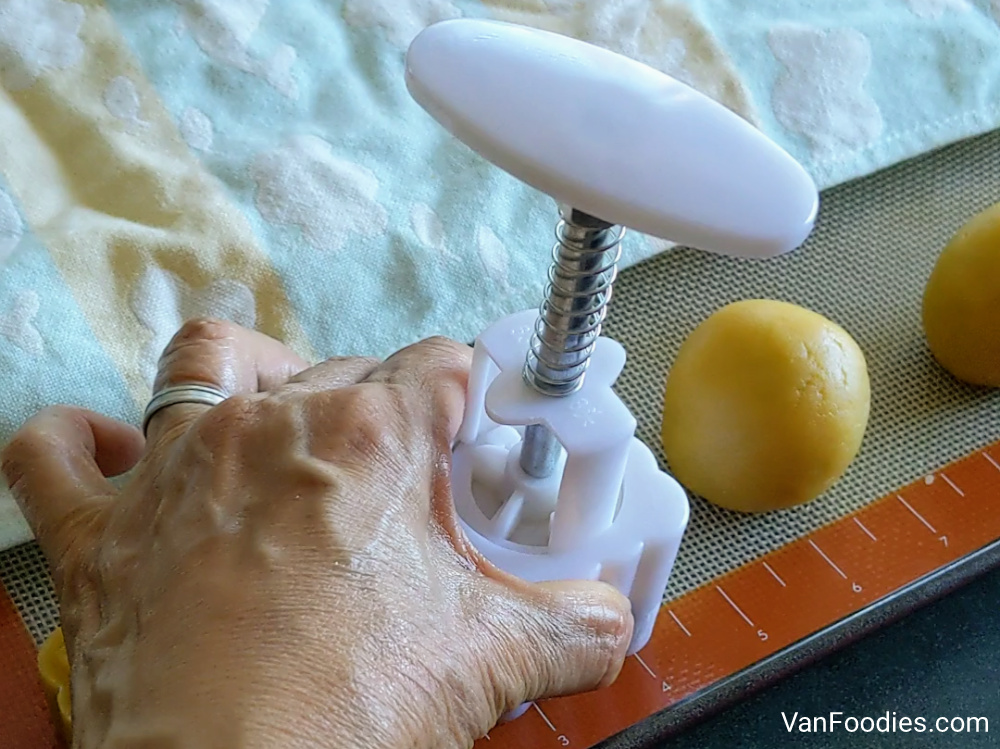
- Put all the mooncake balls on the baking sheet. Dust the mooncake mold with cake flour. Stamp each mooncake ball with the mold.
- Spray water throughout the crust.
- Bake the mooncakes for 16 minutes on the middle rack.
- Take them out and brush on egg wash. Change the oven to Broil.
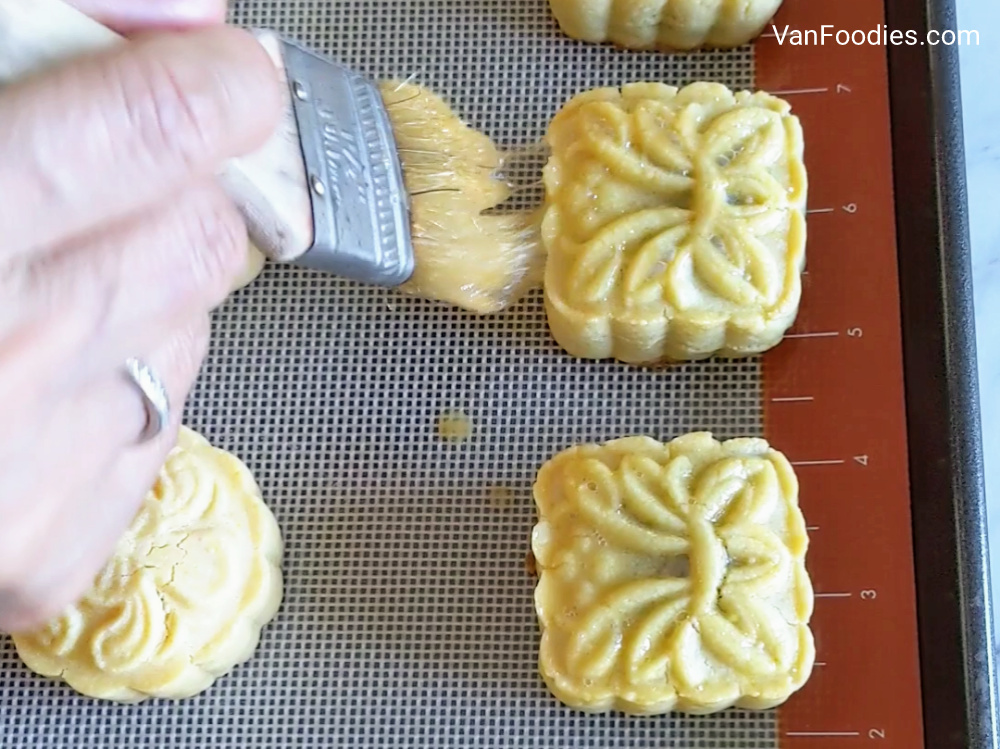
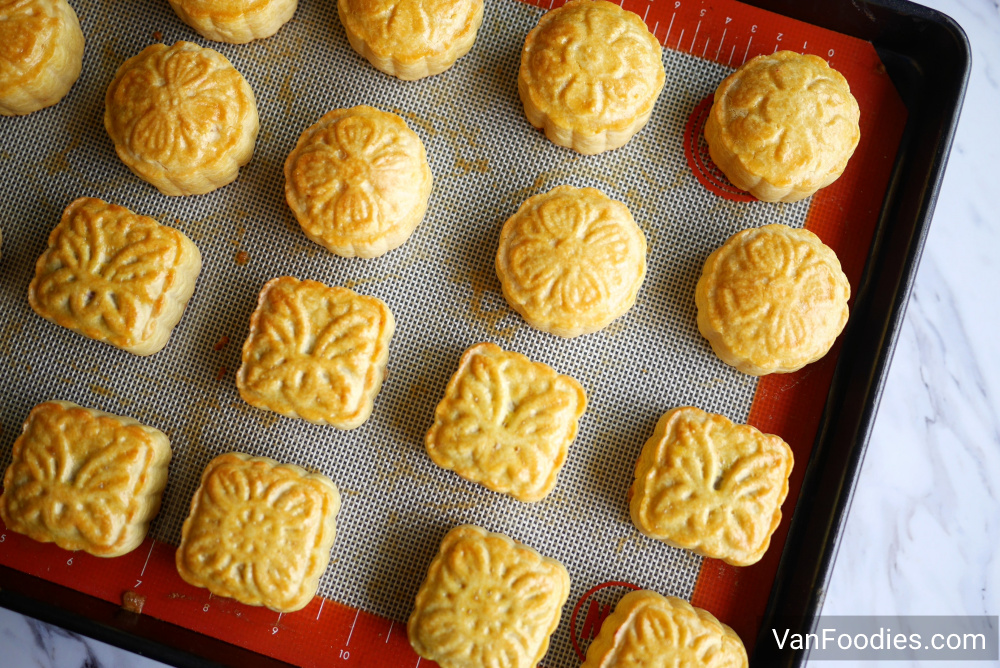
- Put the mooncakes back into the oven. Broil for 2-3 minutes on the bottom rack, until golden brown.
Tips
- Where to buy the mold? We bought our molds in Chinatown, but it’s harder to find them locally now. You can look on Amazon. I suggest something like this mooncake mold with 8 different plates.
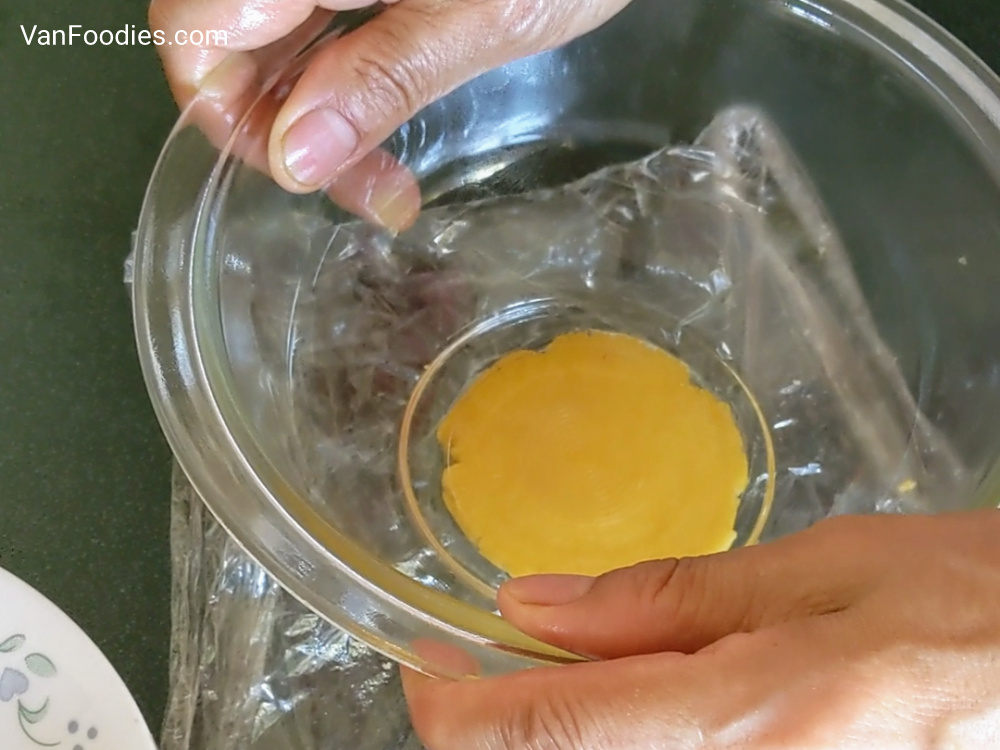
- For the perfectly round dough, we flatten it with the bottom of our mixing bowl. And wrap it with plastic wrap so it doesn’t stick to the mixing bowl.
- Before stamping each mooncake, dust the mold with cake flour to avoid sticking.
- As you stamp each mooncake, you may want to cover them with a towel so they don’t dry out easily.
Happy Mid Autumn Festival!
中秋節快樂!


I’ve never had or made mooncakes, but I’ve been seeing them on social media lately, and they look like the most delicious little cakes. Love the detail and the filling. These look awesome Joyce!
LikeLike
Mooncakes are traditionally enjoyed right now for Mid Autumn Festival. If you visit a Chinese bakery or Chinese supermarket, you should be able to find some. It’s rich and filling but it’s so good!
LikeLike
Happy Mid-Autumn Festival, and thanks for sharing this recipe! I might give making my own a try one day instead of buying them!
LikeLike
I’m so delighted to have this resource! We went outside last night as a family to enjoy the evening and share some mooncake, and I was thinking that I’d love to make my own some day (I’d especially like to carve my own wooden molds for them, but that’s a whole other hobby entirely). Love the various options you’ve given here, and the simplicity of the crust. Cheers!
LikeLike
I’ve never made mooncakes at home. I can’t wait to try this with these step by step instructions!
LikeLike